Intro to Tracks
As we have seen in the Arranger Timeline, Bitwig Studio projects are organized into tracks, and clips live on tracks. While clips are critical for expressing your musical ideas, tracks contain the signal paths that take clips out of the computer and into the audible world. Were there no tracks, there would be no sound either.
We will look at the kinds of tracks that exist in Bitwig Studio before discussing a few basic track operations.
Track Types
Bitwig Studio has five types of tracks. The four most common types are present in any new project you create. Here again is a blank new project.
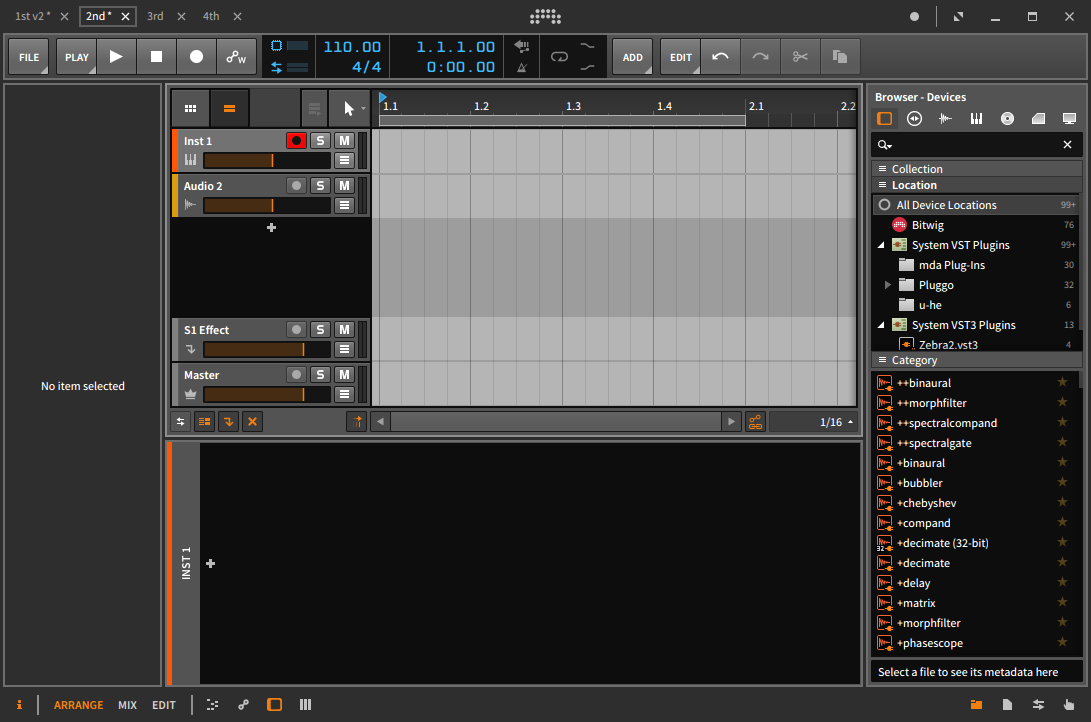 |
As each type of track has its own designated icon, each track also has its own particular use:
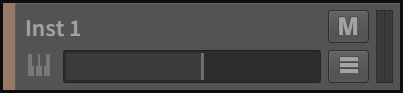
An instrument track is denoted with a piano keys icon. The usual purpose of an instrument track is to record and hold note clips that will trigger an instrument and result in audio output. | ||
An audio track is denoted with a waveform icon. The usual purpose of an audio track is to record and hold audio clips that will be played back. | ||
A hybrid track is denoted with an icon that is half audio waveform and half piano keys. The usual purpose of a hybrid track is to record and hold both note and audio clips. A hybrid track is not present in a new Bitwig Studio project. | ||
An FX track is denoted with a downward arrow icon. The usual purpose of an FX track is to receive portions of other tracks' audio output, then mix them together for further processing. | ||
A group track is denoted with a folder icon. The usual purpose of a group track is to unite several component tracks (either instrument, audio, hybrid, FX, or other group tracks) into one higher-level track for streamlined mixing and editing. The track's folder icon appears open when its component tracks are visible and closed when they are hidden from view. A group track is not present in a new Bitwig Studio project. | ||
A master track is denoted with a crown icon. One and only one master track is present in each project, making him the king. The purpose of the master track is to sum all signals that are routed to the main audio buss. The master track also provides access to various transport parameters (such as tempo) for the sake of automation. |
Creating and Selecting Tracks
As you develop any project, you will almost certainly need additional tracks.
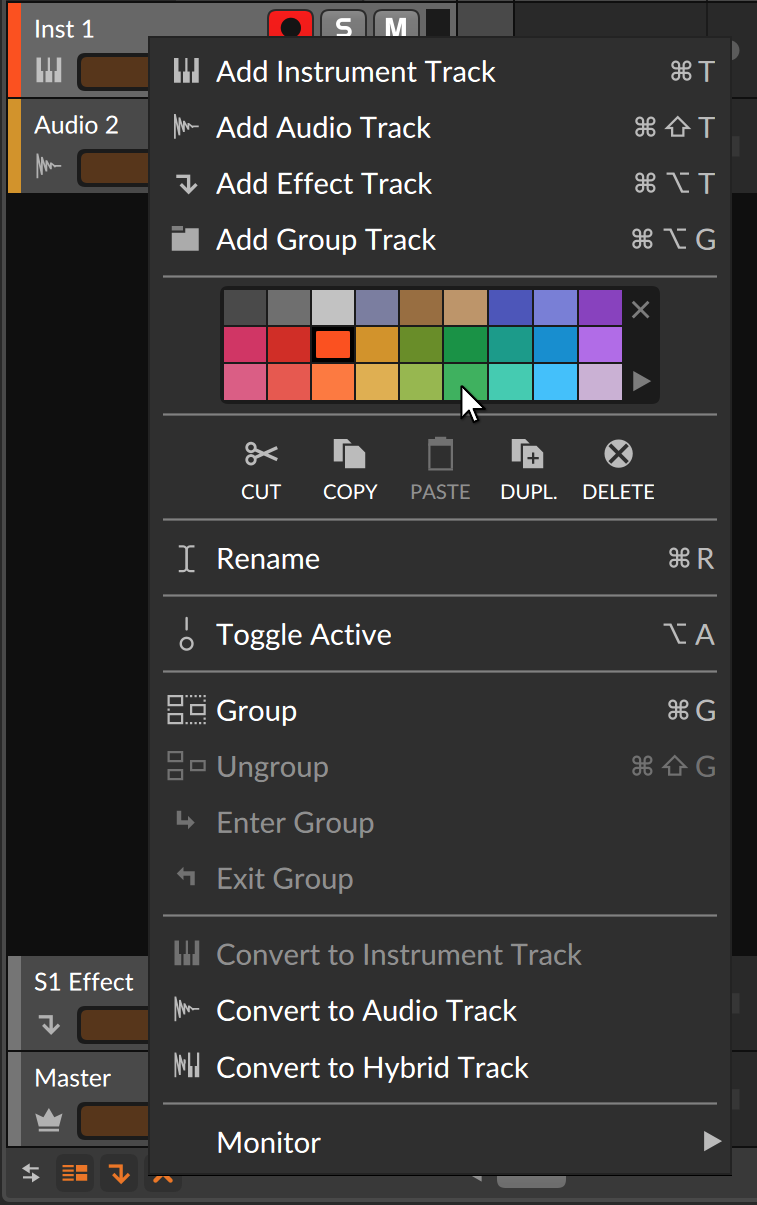
To create a track: go to the menu and select either , , , or .
Other ways to create a track include:
Use the appropriate key command as noted in the menu.
Right-click a part of the Arranger where no tracks exist (such as the blank space between the track headers), and then choose the appropriate function from the context menu.
Before you can do anything with a track, it must first be selected, and the track header is key to this. Clicking anywhere else — including in the Arranger Timeline area — selects clips or automation, not an entire track.
When a track is not selected, the background of its header is charcoal gray, and its text and icon are light. When a track is selected, the background of its header is a light silver, and its text and icon are dark.
 |
To select a track: click on the track's header.
When a track is already selected, you can press UP ARROW or DOWN ARROW to cycle thru the adjacent tracks.
To select or deselect additional contiguous tracks: either hold SHIFT and then click on the final track to be included in the selection, or hold SHIFT while cycling thru tracks with UP ARROW or DOWN ARROW.
To select or deselect additional individual tracks: hold CTRL (CMD on Mac) and then click on the track to be added or removed from the selection.
To group tracks: select the tracks you wish to group and then press CTRL+G (CMD+G on Mac).
To toggle the visibility of a group track's encapsulated tracks: click on the group track's folder icon.
To unpack and remove a group track: select the group track(s) and then press CTRL+SHIFT+G (CMD+SHIFT+G on Mac).
Edit Functions and Moving Tracks
Once a track is properly selected, several standard edit functions can be used.
To copy a track: select the track and then press CTRL+C (CMD+C on Mac).
To cut a track: select the track and then press CTRL+X (CMD+X on Mac).
To paste a track: select a track as a reference and then press CTRL+V (CMD+V on Mac). The pasted track will be added after the track that was selected.
To duplicate a track: select the track and then press CTRL+D (CMD+D on Mac).
To delete a track: select the track and then press DELETE or BACKSPACE.
Other ways to execute the above functions include:
Select the track and then choose the appropriate function from the menu.
Right-click the track's header and then choose the appropriate function from the context menu.
To move a track: click and drag the track's header vertically.
Track Names
You may have noticed that when a track is created, it is automatically given a name to reflect the type of track it is and its track number. And when a track is moved around, the track number in its name is dynamically updated. By default, tracks are set to automatically name themselves based on certain factors. If you desire, you can override this functionality by renaming the track.
To rename a track: right-click the track's header and then choose from the context menu.
Track Colors and Color Palettes
Each track is assigned a color when it is created. Like the track name, the track color can also be changed.
To change the color of a track: right-click the track's header and then select a different color from the palette that appears within the context menu.
 |
To the right of the color palette are two additional options. Clicking the x icon clears the color from the current object, opting instead to 'inherit' the color provided. And clicking the right-facing triangle in the bottom corner exposes a menu of factory and user color palettes.
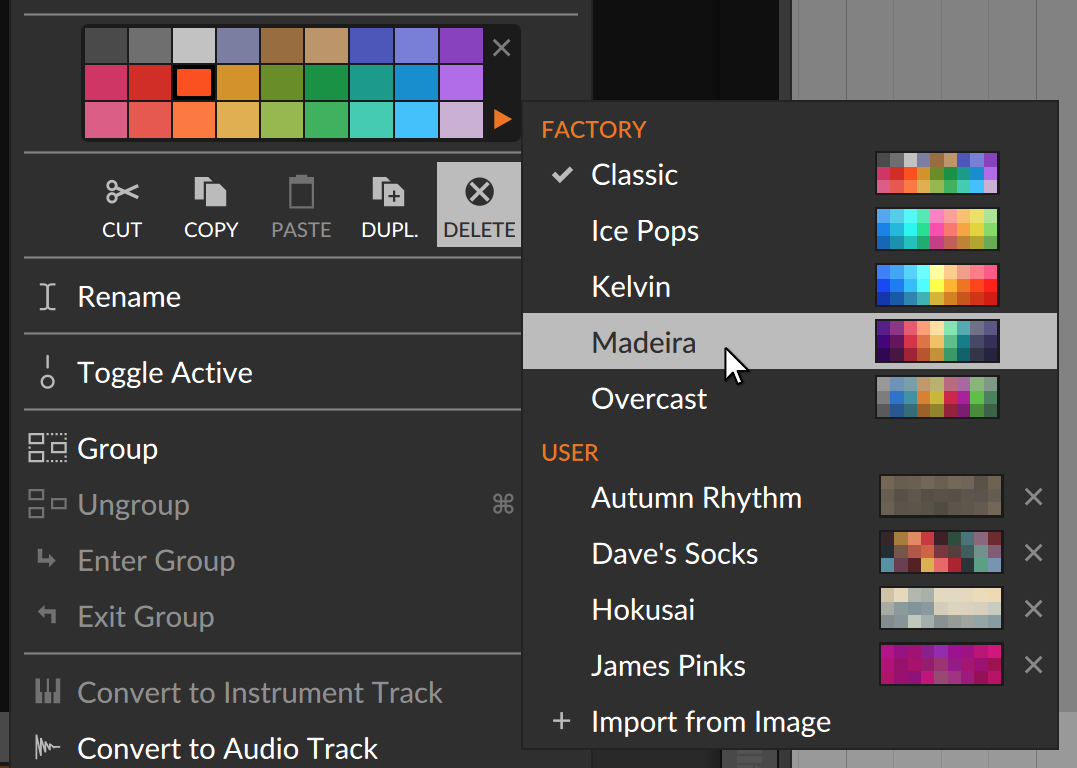
Selecting a different palette makes those colors available, and the most recent palette will be remembered while working on this project. To add a new palette of your own to the User category, simply drag a PNG or JPG file from your system's file manager onto the Bitwig window. The image will be resampled and previewed for you.
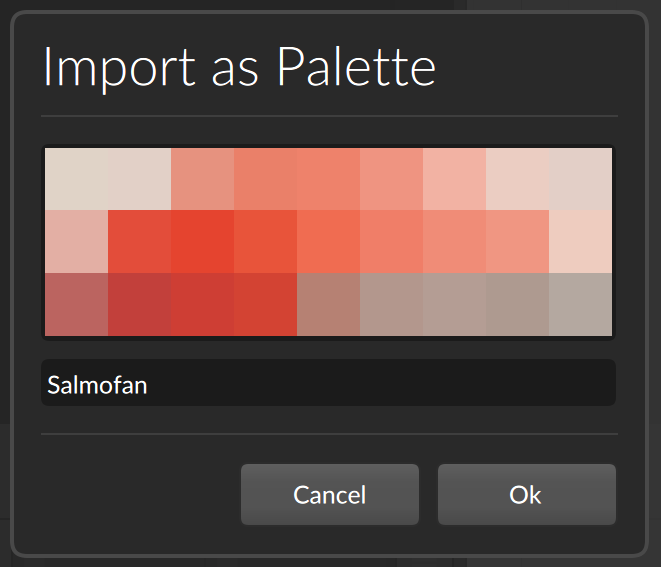
Change the name as necessary and click Ok to add this palette to your library.
Deactivating Tracks
There are various ways to silence a track. One useful option is to deactivate and subsequently (re)activate tracks. When a track is deactivated, not only is its output silenced, but any load it was placing on your CPU is also removed for the time being. From the standpoint of our limited computing resources, deactivating an object is as close as we can get to deleting it — and none of our data are lost in the process.
To deactivate an active track: right-click the track's header and then choose from the context menu. Or select the track and then press ALT+A .
Any disabled track is visibly grayed out and certain interface items are removed.
 |
To activate an inactive track: right-click the track's header and then choose from the context menu. Or select the track and then press ALT+A .
| Note | |
|---|---|
The deactivate and (re)activate functions can be applied to tracks, devices, and top-level chains/layers of the Drum Machine, Instrument Layer, and FX Layer container devices. And any plug-ins that are deactivated will also stop accruing latency to your project. Similarly, clips and notes can be muted and unmuted with the same respective key commands. |
- 0. Welcome to Bitwig Studio
- 1. Bitwig Studio Concepts
- 2. Anatomy of the Bitwig Studio Window
- 3. The Arrange View and Tracks
- 4. Browsers in Bitwig Studio
- 5. Arranger Clips
- 6. The Clip Launcher
- 7. The Mix View
- 8. Introduction to Devices
- 9. Automation
- 10. Working with Audio Events
- 11. Working with Note Events
- 12. Operators, for Animating Musical Sequences
- 13. Going Between Notes and Audio
- 14. Working with Projects and Exporting
- 15. MIDI Controllers
- 16. Modulators, Device Nesting, and More
- 17. Welcome to The Grid
- 18. Working on a Tablet Computer
- 19. Device Descriptions
- 19. Credits